
Using the new Oracle JET CLI
This post has been archived and is no longer maintained. It may contain outdated information, broken links, or details that are no longer accurate.
This is a quick post about using the new Oracle JET CLI (JavaScript Extension Toolkit Command Line Interface), hereafter just ojet. This CLI is new as of May-2017. Prior to using ojet, the approach to deploying Oracle JET scaffolding was to leverage a series of Node Package Manager (npm) and Yeoman (yo) commands.
As of today, the new ojet CLI simplifies the way that Oracle JET template applications are created. You can read about installing the new CLI installed here: Getting Started
The instructions in that post assume you already have
nodeandnpminstalled on your machine. If you don’t have these installed then you will need to head over to Node.js and get the pre-requisite software installed.
Example Web App
Here I’ll walk you through the process of using ojet to initialize a web application using the navdrawer template. Note, I’ll be using a Mac in this example but the commands should be the same on Windows or Linux.
My example application will be called
HelloJETso you can follow along using the same name or replace it with your own name as you like.
Step 1: Open your command line / console and enter the following commands. (…assuming you already have ojet installed.)
ojet create HelloJET --web --template=navdrawer
With that you should see something like the following on your console. If you get any errors make sure you have the prerequisite software installed correctly including Node.js, NPM, and the ojet-cli.

Once this command has completed you will need to change directories into your new application folder. i.e.:
cd HelloJET
Step 2: Now that we have the scaffolding of our Oracle JET web application created, we need to build the solution to see anything interesting. Enter the following commands:
ojet build
or…
grunt build
Note: You can also specify the web platform if you like but the CLI will default to “web” if no platform is supplied. We’ll supply web in the next step for comparison but you can omit this if you like.
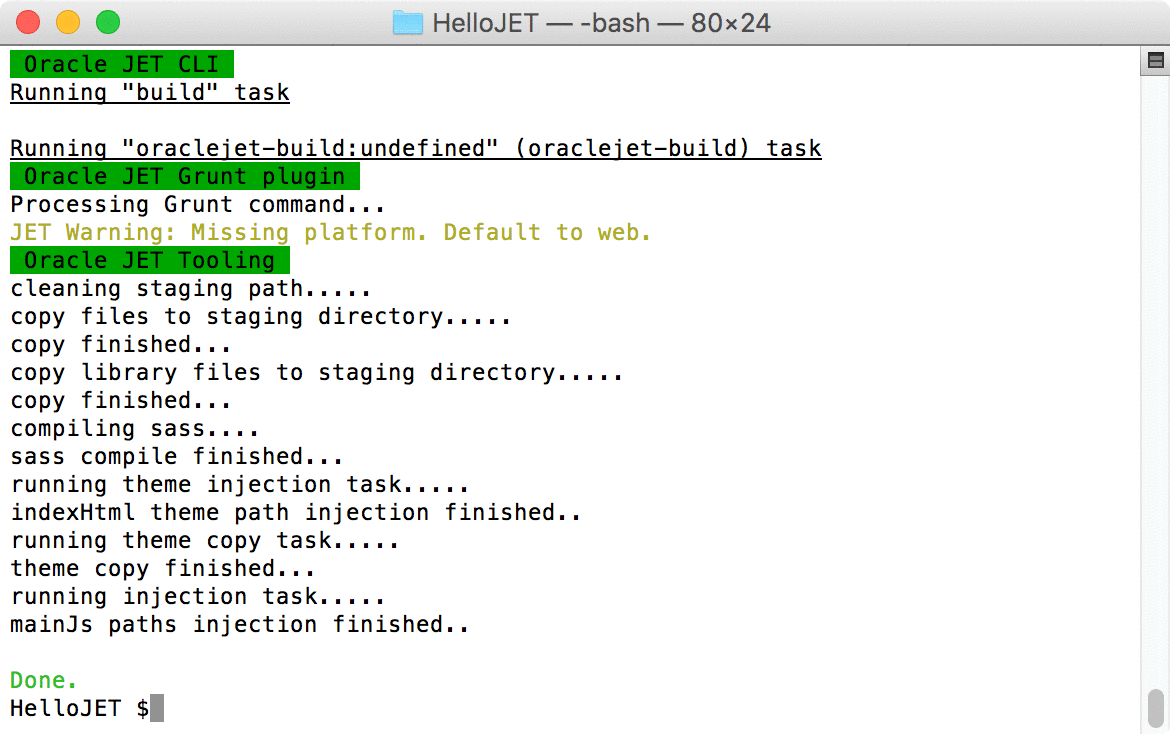
New directories will appear after the code of the application is built (i.e.: themes and web). If you see either of the following error messages instead of Done. then you probably forgot to change directories into the HelloJET directory.
Error: Current working directory does not seem to be the root of a JET app.Fatal error: Unable to find local grunt. ...
Otherwise if the build command succeeded let’s move on.
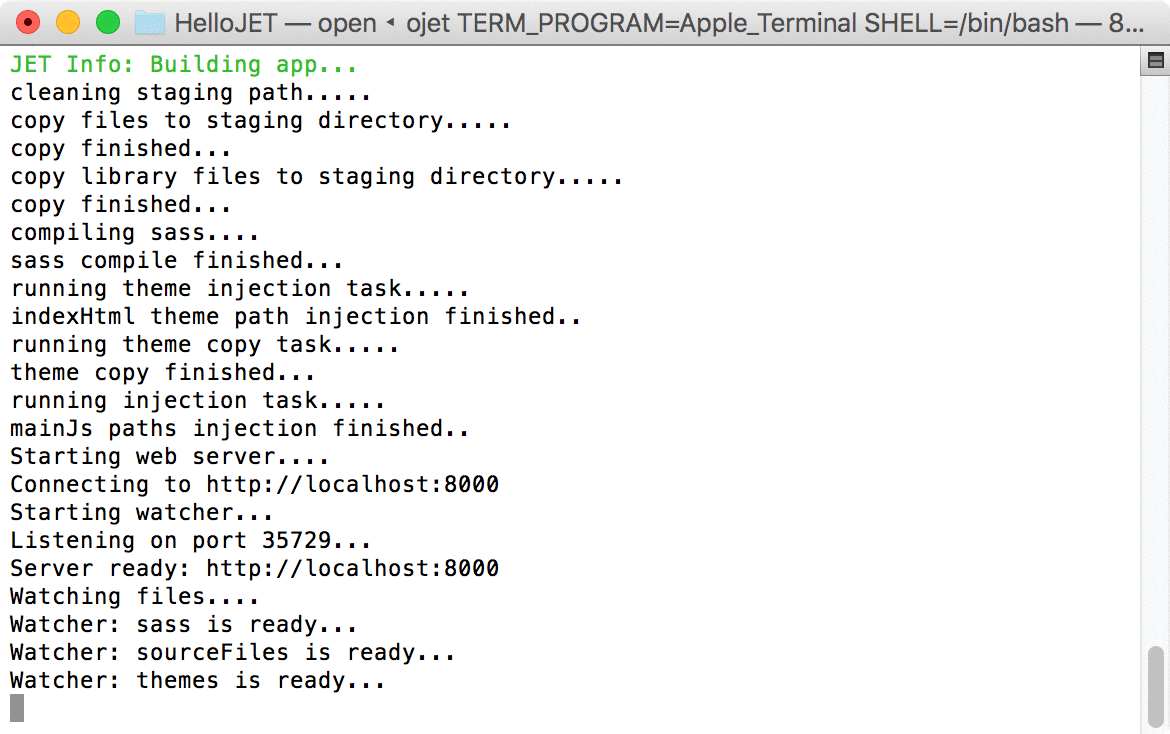
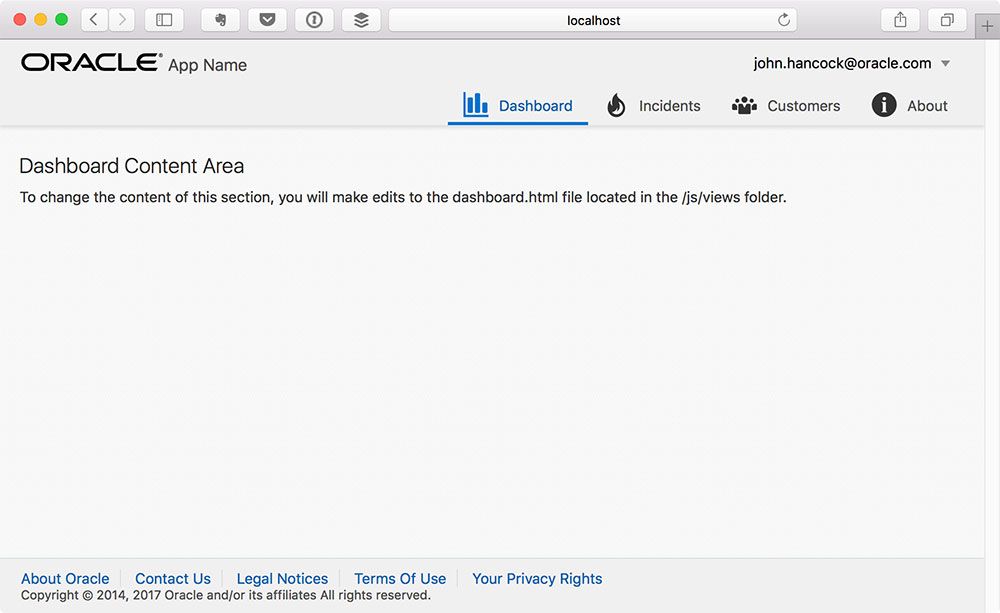
Step 3: After the solution is built, the final step to test the application is to serve it. This will start a local web server process and launch the HelloJET application into a new browser window.
To do this run the following commands:
ojet serve web
or…
grunt serve --platform=web
If everything goes well then you should see a web server started on your local machine and a browser window will open to display the Oracle JET navdrawer template application.
Wrapping Up
In this post we took a quick look at the new Oracle JET CLI and how to use it to create a web application. For those of you familiar with the Yeoman/Grunt approach, you will have noticed a simpler set of commands for working with Oracle JET scaffolding. We took a look at using the following ojet tasks in this post
ojet create ...
ojet build ...
ojet serve ...
Hopefully this gives you a good overview of the new and improved CLI. There are other tasks and options available and we’ll explore this CLI more in future posts. We look forward to the improvements coming to ojet as the team works on rounding out the features and documentation.
You can read more about getting started with Oracle JET and the available JET components at oraclejet.org.