
Learn to Build Oracle JET Native Apps with Electron and Node.js
This post has been archived and is no longer maintained. It may contain outdated information, broken links, or details that are no longer accurate.
Oracle JET (JavaScript Extension Toolkit) - hereafter JET - is a collection of open source JavaScript technologies for building client facing web applications. Oracle had this to say about it:
[Oracle JET] is targeted at intermediate to advanced JavaScript developers working on client-side applications. It’s a collection of open source JavaScript libraries along with a set of Oracle contributed JavaScript libraries that make it as simple and efficient as possible to build applications…
JET ships with examples for user interface (UI) components, data binding, Single Page Application (SPA) architecture, charts / graphs, and more.
In this post I will look at building desktop software by deploying JET applications as native cross-platform applications using Electron. Although I talk a bit about JET, this is not a JET tutorial. You can learn more about JET online and in the JET Massive Open Online Courses (MOOC).
NB. This is a technique I thought was cool that shows some promise and in which I built a rapid prototype. I have not deployed anything to production or done comprehensive testing. That said, products like Slack have used similar techniques in their software so I feel like there is already evidence to suggest it could work well.
Introduction to the Sample
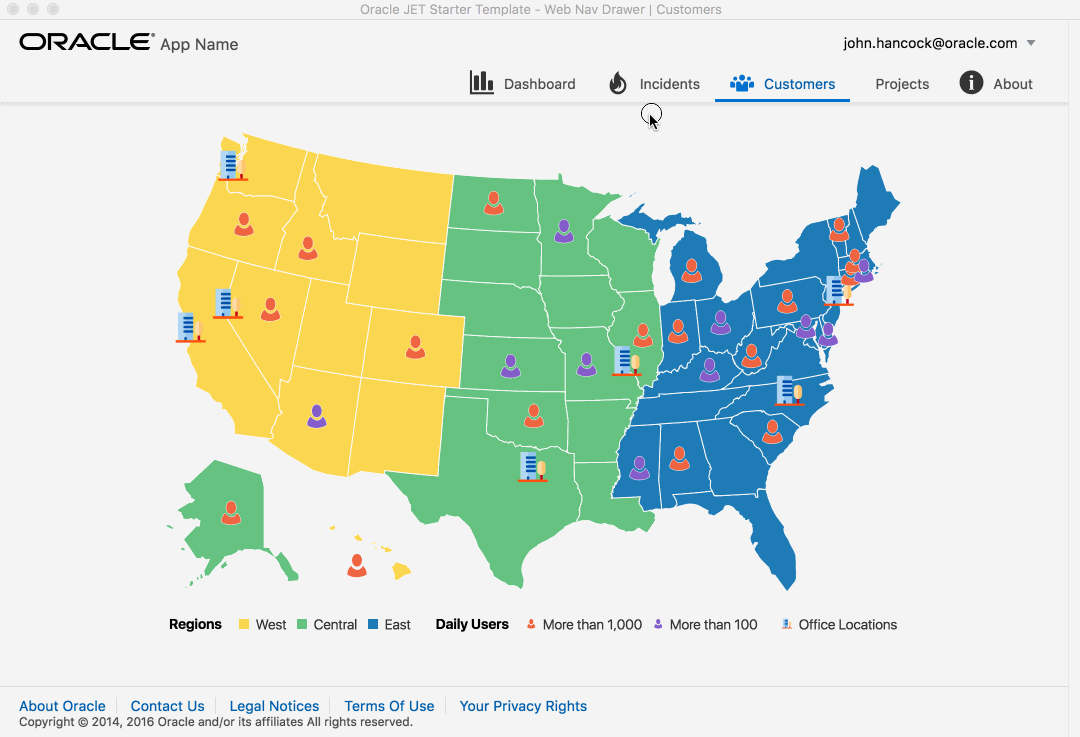
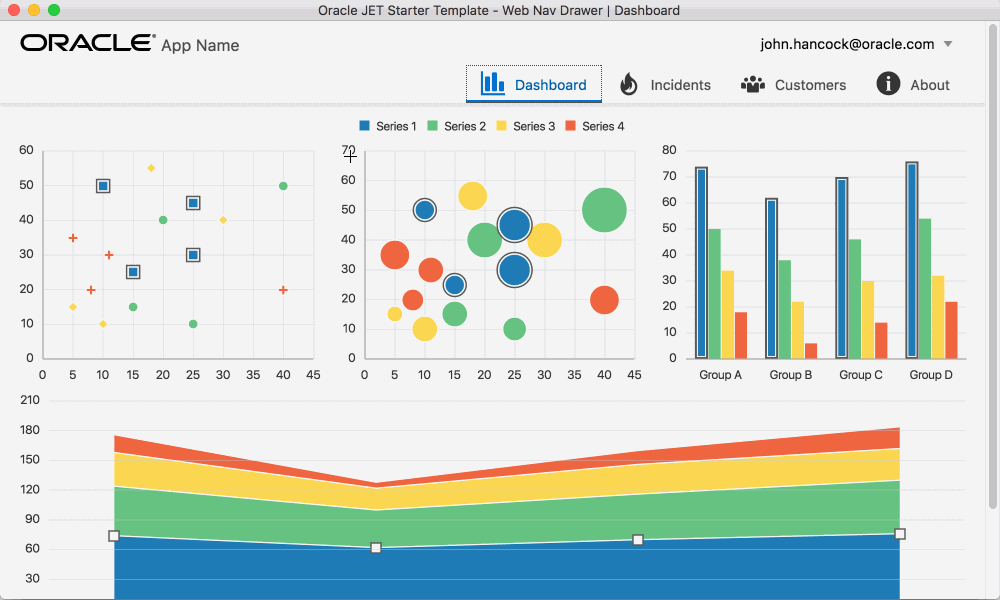
Below is a screenshot of where we are headed in this post. This is a prototype for a desktop application based on the JET navdrawer template and it is running inside of Electron. This desktop application is also fully responsive to screen size changes and it can be compiled for distribution and off-line execution (Internet not required.)
So what?
Clearly you won’t use this technique to solve every problem, however, you can re-use your HTML, JavaScript and CSS development skills (and JET) to quickly build or prototype desktop software. Write your software once and deploy just about everywhere. JET works in desktop and mobile web browsers and it can be packaged for deployment in Electron (or Cordova) for native integration.
Developing applications for the web browser that front end some Node.js functionality usually requires both a server and a client. With Electron you can develop integrated Node.js features directly into your desktop deployed application. (Perhaps this is a gross over simplification but generally
npm install <some package>and you can call it in your Electron application.)Finally, deploying native applications will grant you more access to the host operating system than you will typically get through applications deployed via web browser. Electron brings HTML and JavaScript applications into the realm of desktop software much like Cordova has done for cross platform native mobile applications.
Of course, there are many other factors and pros / cons to consider. I am highlighting a few things that I am excited about…just some awesome sauce for your next desktop software project or data visualization prototype.
Install All The Things
Like building software in any other integrated development environment (IDE), software development kit (SDK), Etc., we need to install the software to build our applications.
- Git - to automatically download code from Git repositories
- Node.js - the primary engine of this example
- Optionally, some source code editor (Atom, Sublime, TextMate, UltraEdit, NetBeans, etc…)
I’m not going to provide detailed explanations for installing these packages. They are pretty self explanatory once you have the installers downloaded.
Note: If you have older versions of Node.js and Node Package Manager ( npm) installed, I recommend that you install the latest production version of Node.js and update npm by running npm -g install npm.
Getting Started
If something goes wrong here jump over to Oracle’s getting started page. At the time of this writing you need to run a couple of npm commands to get started. Except for the Electron integration, the process used here is the same as noted in Oracle’s guide.
npm -g install yo bower grunt-clinpm -g install generator-oraclejet
Once you have run the npm commands above you should be able to use Yeoman to deploy the navdrawer Oracle JET sample application. This is the basis for our desktop application. Open your terminal or DOS command prompt and change directories to where you want to start. Next we will run commands to create our project folder.
I called my application Jetopia2 in the following commands. You can replace that with whatever you want to call your project.
yo oraclejet Jetopia2 --template=navdrawercd Jetopia2grunt buildgrunt serve
If you run into any errors you’ll need to investigate them as needed. For example, I ran this process on a fresh Windows VM and received a ENOGIT error from Yeoman because I forgot to close and re-open my DOS terminal after installing Git, to get an updated PATH variable.
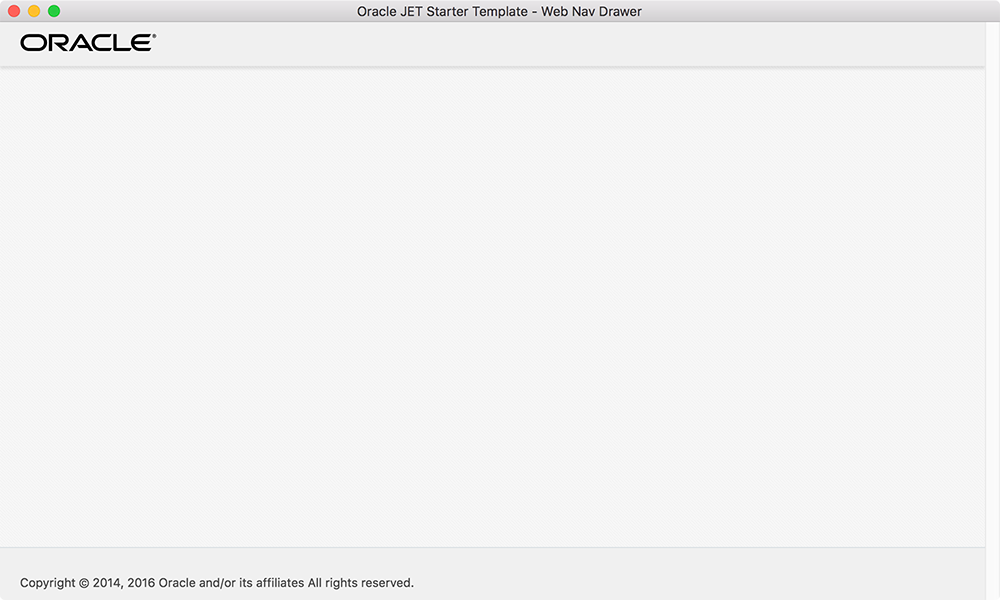
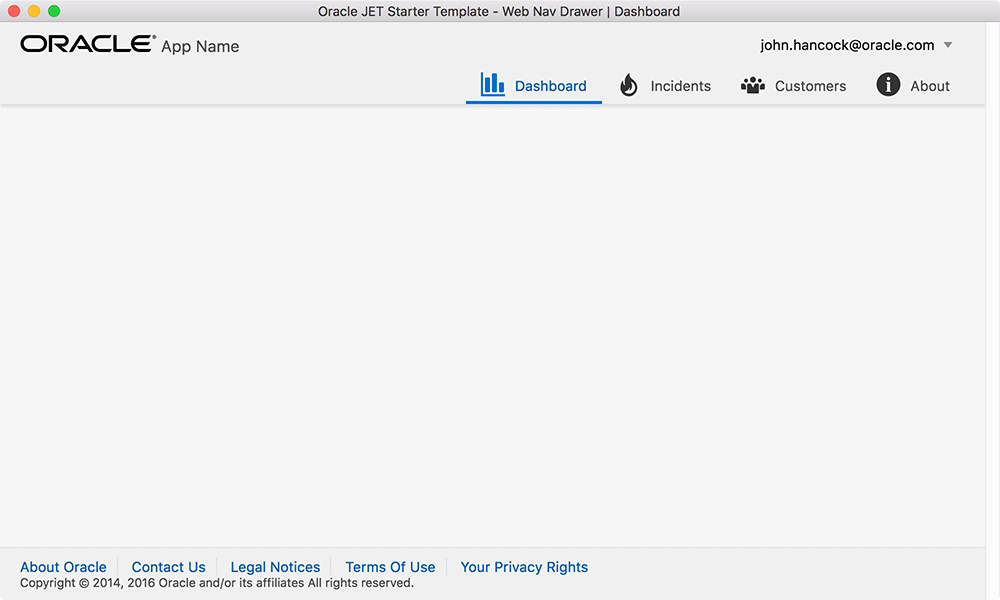
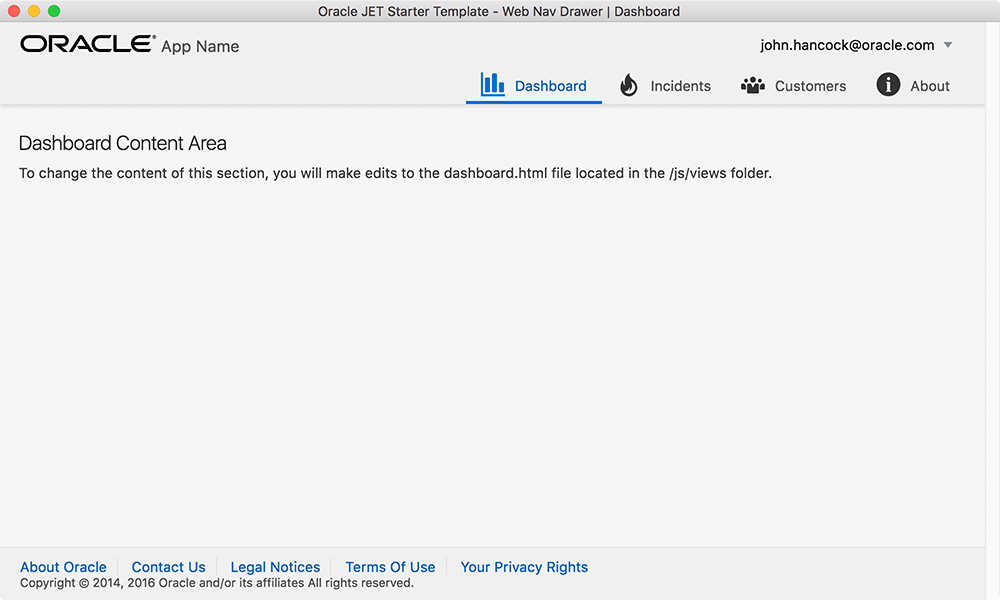
If all goes well you should see a new web browser window or tab open with the default navdrawer application template displayed.

This template deploys with four different tabs that navigate to HTML/JS application files. These are Knockout templates with automatic data binding that Oracle has defined to help us get started quickly.
Setup Electron
Now that we have the basic navdrawer JET template running in the web browser we can install Electron, add our main JavaScript program and run our native application. First open a terminal to your JET project folder and run:
npm install electron-prebuilt --save-devnpm install electron-packager --save-dev
Next create a new JavaScript file in your src folder. I called mine jetopia.js. This is the Node.js program that Electron will run when we start our native desktop application. Add the following code:
const electron = require('electron');
const{app, BrowserWindow} = electron;

app.on('ready', () => {
    let win = new BrowserWindow({
        width: 1000,
        height: 600
    });
    win.loadURL(`file://${__dirname}/index.html`);
});
This code tells Electron to open a new window and to load the index.html file. Since our script is located in the src directory it will be automatically deployed to the web folder in the build step. If you organized your project differently you may need to play around with the path in the loadURL() call.
My jetopia.js and index.html files are located in the same directory so I am using ${__dirname} as a shortcut for the relative path.
Next open the package.json file and add the following lines. The file should already exist from the original call to yo oraclejet... which created and initialized your project folder.
...
  "main": "./web/jetopia.js",
  "scripts": {
    "start": "grunt build && electron ./web/jetopia.js"
  },
...
This will allow us to use npm start to build our JET application, launch Electron and later on will tell the Electron packager which script is the main script. We need to specify the .web/ directory here (instead of src) because grunt build will assemble our code into the web directory.
Run Oracle JET Native
Now that the navdrawer application template is generated and Electron is installed, go ahead and run npm start. You should see an Electron native application window launch with your JET index.html file loaded.
We got the application window but something isn’t quite right yet. None of our navdrawer templates or menus made it into the application. It turns out that JET uses RequireJS to import JavaScript dependencies.
A pointer to RequireJS has been aliased in JET as require and also requirejs. This is the main reason why my application is called Jetopia2. When I first tried this proof of concept, I spent a few hours untangling the naming conflicts before finding the simplest solution identified here. (see below for the fix / code)
Because our JET application is now running inside Node.js with Electron, require() is already defined by the standard modules of Node.js, thus there is a name conflict. Node’s require() expects a string path argument while RequireJS can handle an Array of module names. Let’s fix this now.
Patching The JET Code
In the src directory find the index.html file and open it in your source code editor. Add the following code just after your opening <head> tag.
...
    <script>
      window.nodeRequire = require;
      delete window.require;
      delete window.exports;
      delete window.module;
    </script>
...
Add the following lines of code just above your closing body tag of the index.html file to fix a missing reference.
...
    <script>
      require.nodeRequire = window.nodeRequire;
    </script>
...
Either this is a bug in JET’s RequireJS bundle since require.nodeRequire is not defined anywhere, or I just don’t know what I’m doing yet. (See fs = require.nodeRequire('fs'); in text.js around line 249)
Save your changes. If your Electron application is still running stop it and then re-run npm start to build and run the application again. If all goes well here then you should now see we are getting closer to running the JET navdrawer inside Electron.
We have the main application frame running, the require name conflicts are cleaned up but there is no content yet in our main application area. Node.js is looking for the HTML Knockout templates but it cannot find them. To fix that we need to make a change to src/js/main.js. Open that file and insert the following code to the top of the init() function.
...
  if (window.nodeRequire !== undefined) {
    var viewPath = 'text!' + __dirname + '/js/views/';
    oj.ModuleBinding.defaults.viewPath = viewPath;
  }
...
This code is used to determine if we are running inside of Node.js and if so, then sets a full path to the location of the Knockout templates. There may have been a more efficient way to deal with this but this is my first attempt so I’m going with this for now.
Save your changes and then re-run npm start to build and run the application again. This time everything should be fully functional inside of Electron.
While you are at it, go ahead and run grunt serve as well. Everything should still work in your regular web browser also. Cool!
About the Cookbook Samples
You should definitely spend some time figuring out how to get code out of the JET cookbook and into your application. Thanks to this helpful post, I was able to convert the examples in this application fairly quickly.
In summary, you need to replace require[ from the cookbook JS with define[. Generally speaking you also need to remove the jQuery call at the end of the cookbook sample JS and replace it with a return statement to return an instance of the ViewModel you are working with.
So the following…
...
    var chartModel = new ChartModel();

    $(document).ready(
          function(){
      ko.applyBindings(chartModel, document.getElementById('chart-container'));
    });
...
Becomes…
...
    var chartModel = new ChartModel();
    return chartModel;
...
JET automatically binds your Knockout templates to the fields in the returned view model so this jQuery code is not required for standalone JET applications, it is only used by the cookbook. (Some interpretation required.)
Build the Dashboard
To build the Dashboard page of the JET application shown near the top of this post open the Cookbook to the Visualizations > Chart > Common > Associated Views: Selection demo. We will use this code for our Dashboard.
- Copy the template HTML for the sample to your clipboard.
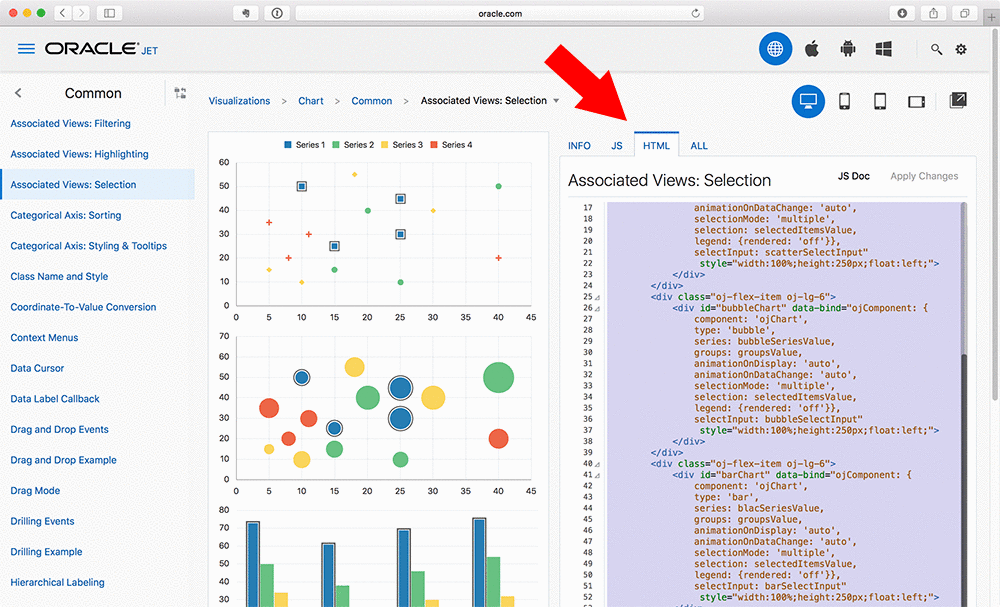
Open the Knockout template for the Dashboard and replace the default contents with this cookbook HTML. The file is located under
src/js/views/dashboard.html.Next go back to the cookbook and copy the JavaScript from the
JStab to your clipboard. (Right next to the HTML tab)Open the view model for the Dashboard page and replace the existing code with the JavaScript from the cookbook. The file is located under
src/js/viewModels/dashboard.jsUpdate the
dashboard.jsfile with the two changes noted in the previous section. (require->defineandjQuery->return viewModel;).
With all of these changes implemented, save your files and re-run npm start. You should now see the Dashboard of your application running in Electron is populated with the cookbook sample charts and data. If you make your native application window larger and smaller the interface will automatically adjust. (Responsive!)

Communicate with Node.js
The final trick is really to figure out how to get JET talking to Node.js so you can do more interesting things with your applications. You could just ignore Node.js all together and make this a client/server application but it is still worth understanding how to get to Node.js and as a result to the npm ecosystem.
Electron has two processes that we need to communicate between, a main process and a renderer process.
We are going to add a button to the About page from the renderer process that will kick off a Node.js function in the main process. The Node.js function will use HTTPS to download some JSON data from Oracle REST Data Services (ORDS) and use a callback function to be displayed on the About page.
This example is cooked up just for show and to help you connect the renderer with the main process. You probably have more practical or interesting ideas about what to do inside of Node.js.
- Open the Knockout template for the About page and replace it’s content with the following HTML. (See if you can locate the template using what you learned from updating the Dashboard related files.)
<div class="oj-hybrid-padding">
  <h3>Talk to Node.js</h3>
  <div>
      <div style="padding-left:16px; display:inline-block">
      <button id= "button1"
         data-bind="click: talkToNode,
           ojComponent: {component: 'ojButton', label: 'Fetch JSON data from ORDS using Node.js'}">
      </button>
    </div>
    <div id="ords-data"></div>
  </div>
</div>
- Open the view model JavaScript file for the About page and insert the following three lines of JavaScript at the top of the file.
const electron = nodeRequire('electron');
const {remote} = electron;
const jetopia = remote.require(__dirname + '/jetopia.js') ;
This code is what links the renderer with a reference to any functions that get exported from the jetopia.js file and therefore gives us a link to the main process.
- Add a new function inside of the
AboutViewModel()that will call ourgetDataFromORDS()function from the main process. We will pass a callback function to the main process to insert the result into adivusing jQuery.
    function AboutViewModel() {
      var self = this;
      ...
      self.talkToNode = function () {
        $('#ords-data').html('Fetching data...');
        jetopia.getDataFromORDS((data) => {
          $('#ords-data').html('<pre>' + data + '</pre>');
        });
      }
...
- Open the
src/jetopia.jsfile and insert the following lines of JavaScript code. This is the Node.js function that will retrieve the JSON results from ORDS and pass it back to the callback function on our JET page.
...
const https = require('https');

...

exports.getDataFromORDS = (cb) => {
    var data;
    https.get('https://apex.oracle.com/pls/apex/icodealot/crm/customers/', (res) => {
        res.on('data', (d) => {
            data = data + d;
        });
        res.on('end', () => {
            cb(data);
        });
    });
};
Finally, save your changes as needed and re-run npm start. Once your Electron application starts up navigate to the About tab and click on the new button. You should see JSON results from Node.js loaded into the main content area.
And now our JET application is talking with Node.js directly on the main process of Electron. I hope you agree that this is both powerful and awesome!
Wrapping Up
The theoretical final step in building your native JET applications for distribution (ignoring testing and further development) would be packaging them for deployment. To do that you will need to call the Electron Packager. This was installed earlier in this post if you followed along so we can add these related commands to our package.json file.
...
  "scripts": {
    "start": "grunt build && electron ./web/jetopia.js",
    "build-mac": "electron-packager --platform=darwin --arch=x64 --version=1.0.0 . Jetopia --ignore=node_modules/electron-*,node_modules/asar",
    "build-win": "electron-packager --platform=win32 --arch=x64 --version=1.0.0 . Jetopia --ignore=node_modules/electron-*,node_modules/asar"
  },
...
This is just an example. You will want to investigate and customize the build options. With those two new options added to scripts you can now call npm run build-mac or npm run build-win to generate an executable for distribution. You will need to run the build-mac or build-win from each of those platforms respectively.
Alternatively you can read the documentation for the packager to find out how to build Windows EXEs using Mac. (I use a Windows VM for this on my Mac.)
If you have any questions or need to see the full source for my example project you can grab the code from GitHub at: https://github.com/icodealot/odtug/tree/master/OracleJET/Electron
I hope you found this post useful and that it helps you along the way.
Cheers!
Related Links
Here are some links related to the contents of this post for your reference. These are some of the resources I used along the way.
- http://www.oracle.com/webfolder/technetwork/jet/jetCookbook.html
- http://www.oracle.com/webfolder/technetwork/jet/globalGetStarted.html
- http://docs.oracle.com/middleware/jet210/jet/developer/toc.htm
- https://www.youtube.com/watch?v=jKzBJAowmGg
- https://github.com/electron-userland/electron-prebuilt
- https://github.com/electron-userland/electron-packager
- http://electron.atom.io/docs/
- https://nodejs.org/en/
- https://git-scm.com/downloads
- http://knockoutjs.com